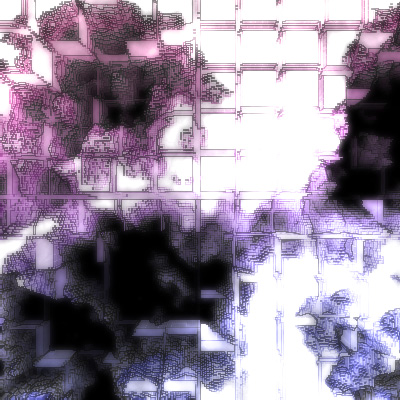
Urban Decay
Learn how to create a 3d birds-eye view of a decaying city.
- Clouds
- Difference Clouds
- Levels
- Extrude
- Colorize
- Glowing Edges
- Blending Mode
Create a new image 400x400px with a "transparent" background. Press D to reset the Color Palette. Rename the existing layer "back"
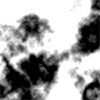
Render some Clouds ( Filter > Render > Clouds ). Next, render Difference Clouds ( Filter > Render > Difference Clouds ) four times. Do this by using the top menu to execute the Difference Clouds filter once, then pressing Ctrl-F 3 times to repeat the last filter (in this case Difference Clouds) three times.
 Colorize layer "back" using the Hue/Saturation window ( Image > Adjustments > Hue/Saturation ). Use the settings in the image to the right.
Duplicate layer "back" by right clicking the layer in the Layer Palette and clicking "Duplicate Layer". Rename the new layer "lines".
 Apply the Glowing Edges filter ( Filter > Stylize > Glowing Edges ) to layer "lines" using the settings to the left.
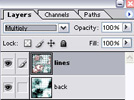 Invert ( Ctrl-I or Image > Adjustments > Invert ) the colors of the layer "lines".
Change the Blending Mode of layer "lines" to "multiply".
Merge Visible ( Layer > Merge Visible ) to merge all visible layers.
The following three steps are optional.
Duplicate the only existing layer by right clicking the layer in the Layer Palette and clicking "Duplicate Layer". Rename the new layer "haze".
 First, on the Layer Palette, change the Opacity of layer "glow" to 70%.
Apply a Gaussian Blur ( Filter > Blur > Gaussian Blur ) to layer "haze" with a power of 3.5.
Create a New Layer ( Layer > New Layer... ) above layer "haze" and name it "glow".
Change the Blending Mode of layer "glow" to "Color Dodge". Reset the Color Palette ( Press D ).
 Render some Clouds ( Filter > Render > Clouds ) on layer "Color Dodge". Next, render Difference Clouds ( Filter > Render > Difference Clouds ) until you like how your image looks. Do this by using the top menu to execute the Difference Clouds filter once, then pressing Ctrl-F as many times as you want to repeat the last filter (in this case Difference Clouds).


