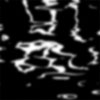
Reflective Water
Learn how to use Levels to create a mystical and reflective illusion of water.
- Clouds
- Difference Clouds
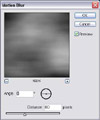
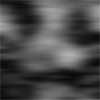
- Motion Blur
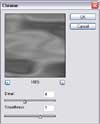
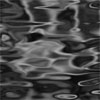
- Chrome
- Levels
- Hue/Saturation
Create a new image 500x500px with a transparent background.
To create the base of the water, you are going to want to render Clouds ( Filter > Render > Clouds ).
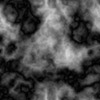 Next, you want to render Difference Clouds ( Filter > Render > Difference Clouds ) six times. Do this by using the top menu to execute the Difference Clouds filter once, then pressing Ctrl-F 5 times to repeat the last filter (in this case Difference Clouds) five times.
 Duplicate the original layer that you have been working on.
With the new layer selected in the Layer Palette, bring up the Levels Menu ( Ctrl-L or Image > Adjustments > Levels... ). Use around the settings shown in the image above.
Apply a Gaussian Blur ( Filter > Blur > Gaussian Blur ) with a Strength of 4. Repeat this filter again ( Ctrl-F ).
Change the layer's Blending Mode to Screen.
 Select the original layer. It should be the bottom layer on the Layer Palette. Open the Hue/Saturation menu ( Image > Adjustments > Hue/Saturation ) and use the following settings to the left.
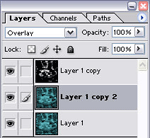
Duplicate the layer and set the new layer's Blending Mode to Overlay.
You now have some nice reflective water! To expand on this, try using a different color or different Blending Mode.


