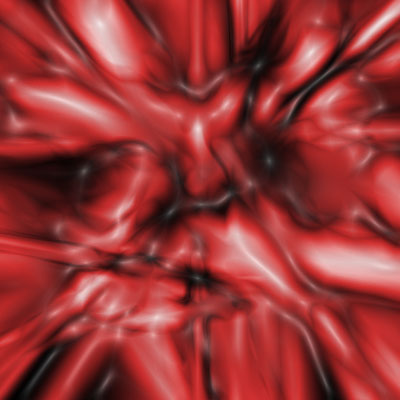
Organic Raw Flesh
This slimy and stressed flesh looks like it came from an ulcerated stomach.
- Gradient Tool
- Color Picker
- Blending Mode
- Hue/Saturation
- Plastic Wrap


![]() First, Create a new image 400x400 with a transparent background. Fill "Layer 1" with black ( Hex #000000 ). Create a new layer and rename it "Stripes 1".
First, Create a new image 400x400 with a transparent background. Fill "Layer 1" with black ( Hex #000000 ). Create a new layer and rename it "Stripes 1".
 Change the Foreground Color to Red (#FF0000)
Click on the Gradient Tool and use the following setting shown in the image to the right.
 On layer "Stripes 1" make two random gradients like the ones to the left. Do not make them too thick.
 Click on your foreground color square and add "50" to the "Hue" (ie. 0 -> 50, 50->100)
 Repeat this step until the Hue is 350. By the end of this, you should have an image like the one to the left.
If your gradients are coming out too thick, try dragging less of a distance.
 Create a new layer above layer "Stripes 1" and name it "Stripes 2". Reset the foreground color to Red (#FF0000) and repeat step 2 except this time, make the gradients on layer "Stripes 2".
 Change the Blending Mode of layer "stripes 2" to "Difference"
You should now have something like the image to the left.
 Merge all visible layers ( Layer > Merge Visible ) and Colorize the image using the Hue/Saturation window ( Image > Adjustments > Hue/Saturation )
 Next, add a Plastic Wrap ( Filter > Artistic > Plastic Wrap ) with the settings used in the image to the left.
Finally, to add more contrast to the flesh, duplicate the layer and change the Blending Mode to "Overlay".